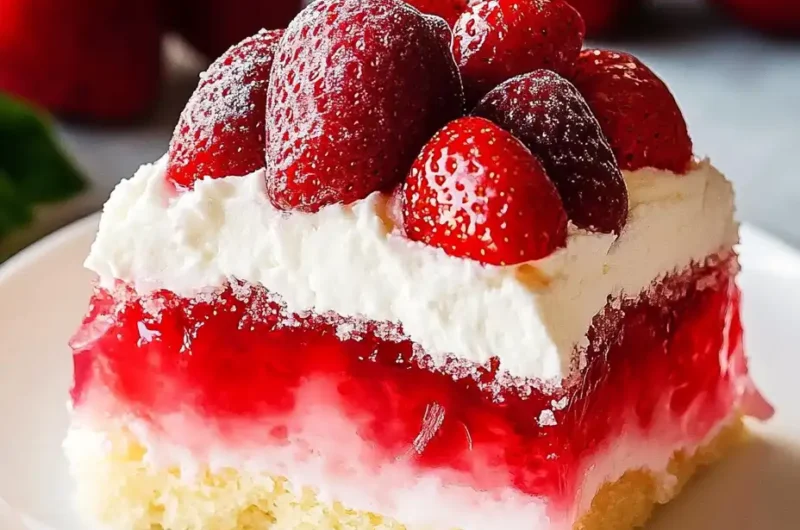
If you’re looking for a dessert that’s simple, colorful, and a surefire crowd-pleaser, a Jello Poke Cake is a perfect choice! This cake has a light, airy texture with vibrant jello filling in every bite, creating a fun and fruity twist. Not only is it easy to make, but it’s also a stunning dessert that’s ideal for any occasion. Here’s everything you need to know to make the best jello poke cake recipe that will wow your friends and family.
What is a Jello Poke Cake?
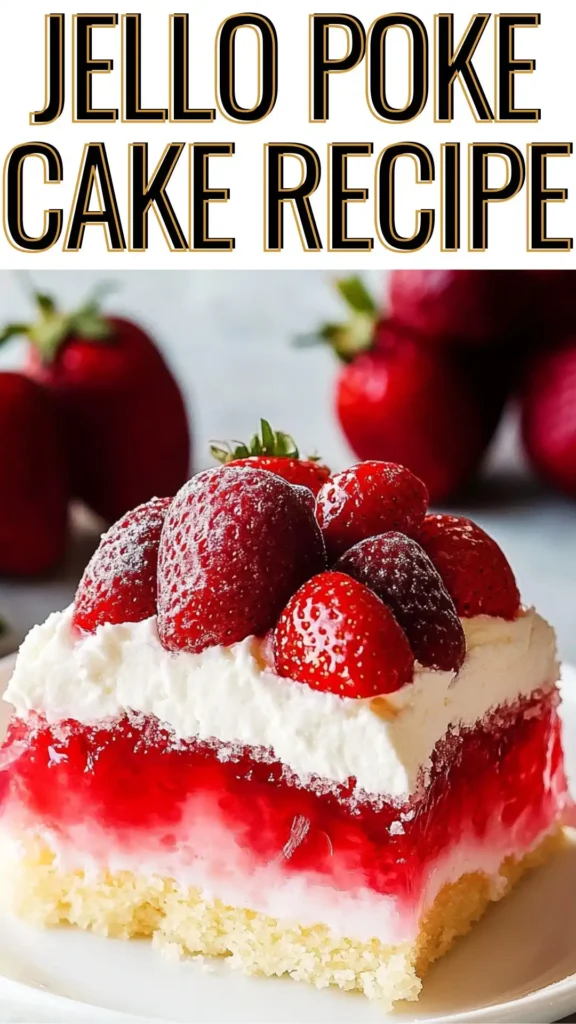
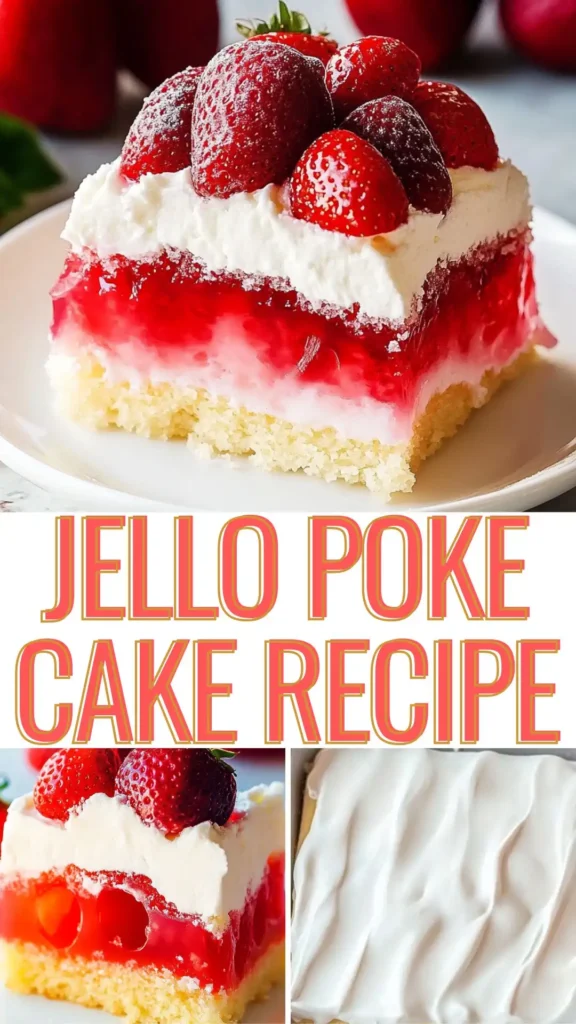
A poke cake is just what it sounds like—a cake that you “poke” after baking, creating little holes that get filled with jello, pudding, or another filling. The jello poke cake is a beloved version of this concept, where you fill the cake with flavored jello for a unique, colorful look and taste. As the jello sets, it infuses the cake with a fun texture and a burst of fruity flavor, making each slice visually stunning and delicious.
Why You’ll Love This Jello Poke Cake Recipe
- Easy to Prepare: This recipe uses a boxed cake mix, which makes it a breeze to put together.
- Customizable Flavors: You can switch out the jello flavor to suit your taste or match a party theme.
- Great for Any Occasion: Its bright, inviting appearance makes it perfect for birthdays, holidays, potlucks, or any get-together.
- Kid-Friendly: Kids will love the vibrant colors, fun texture, and delicious taste.
If you’re a fan of creative cake recipes, you might also enjoy this unique German Chocolate Poke Cake, which takes the poke cake concept to a chocolatey, nutty level.
Step-by-Step Guide to Making a Jello Poke Cake
Follow these easy steps to make a delightful jello poke cake that looks and tastes amazing!
1. Prepare the Cake Base
To start, you’ll want to bake a simple white or yellow cake as the base. Use a 9×13-inch baking pan, which will allow the cake to hold the jello filling evenly. Follow the instructions on the box to mix and bake the cake, keeping an eye on it to avoid over-baking. Once done, take it out of the oven and let it cool for about 15 minutes. This initial cooling time is essential to ensure the jello absorbs well without melting or losing its shape.
2. Mix the Jello Filling
While the cake cools, prepare the jello mixture. In a medium-sized bowl, whisk the jello powder with boiling water until it dissolves completely. Then, stir in cold water to bring down the temperature, allowing the mixture to set without causing the cake to become soggy. This step is key to achieving the perfect jello texture and avoiding an overly wet cake.
3. Poke the Cake
Once the cake is warm but not hot, it’s time to poke holes across the top. Use a fork or toothpick to create small holes spaced evenly throughout the cake. For best results, poke only halfway through the cake, as poking all the way to the bottom can lead to the jello pooling underneath, which might make the base soggy. Poking evenly ensures that every bite will have a nice balance of cake and jello.
4. Pour the Jello Over the Cake
Now comes the fun part! Carefully pour the jello mixture over the cake, allowing it to seep into the holes. A good trick is to pour the jello over the back of a spoon, slowly and gently, so that it can soak into each hole without flooding the surface. By giving it a few moments to settle, you’ll create a beautiful layered effect that enhances both flavor and presentation.
After adding the jello, place the cake in the fridge for at least 2-3 hours. Letting it chill helps the jello set fully, creating a firm and flavorful layer within the cake. If you have time, chilling it overnight can yield an even better texture and flavor.
5. Add the Topping
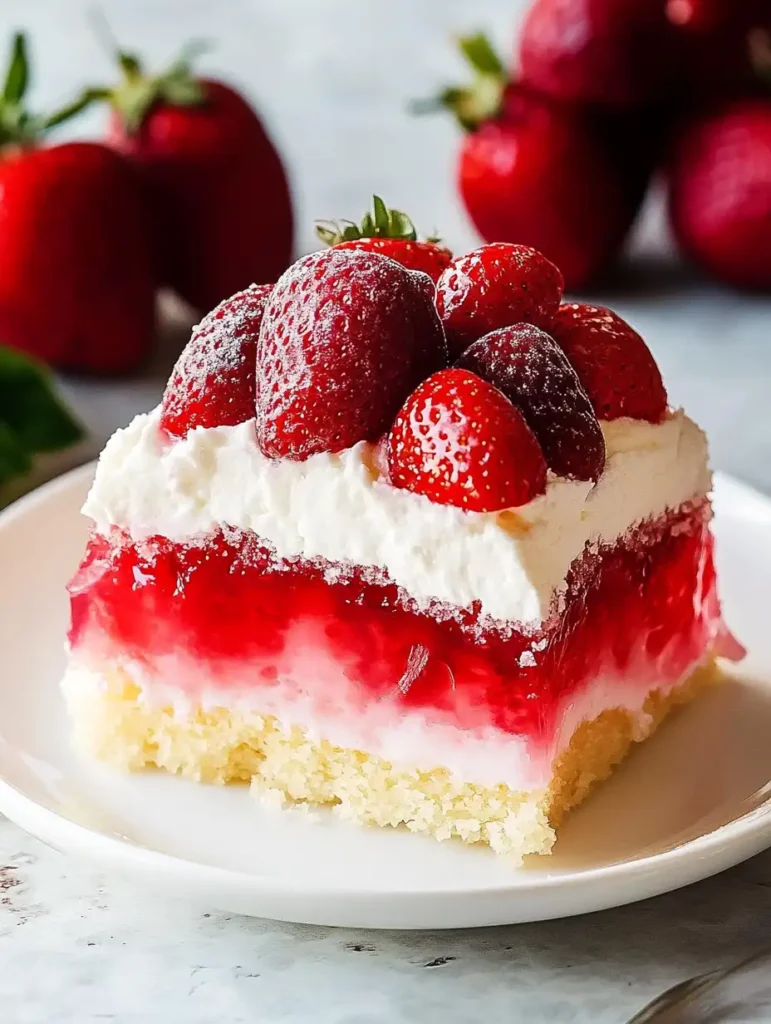
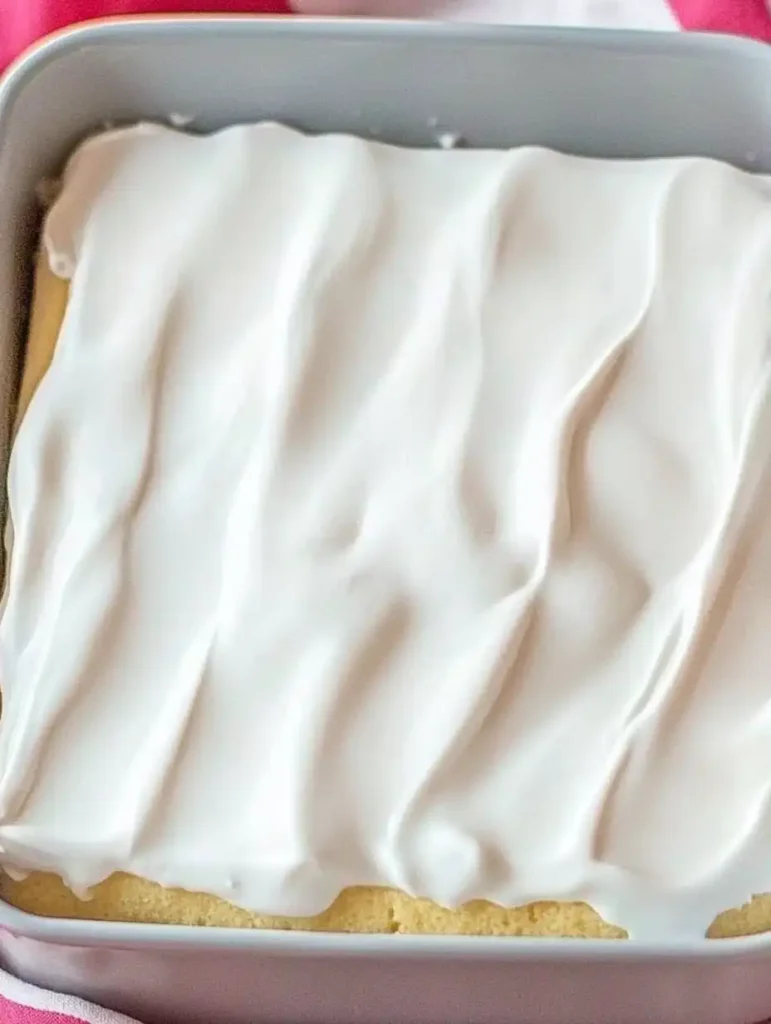
Once the cake is fully set, it’s time to add the topping! Spread an even layer of Cool Whip over the cake. This light, creamy topping pairs perfectly with the fruity jello and moist cake, creating a refreshing and balanced dessert. For a pop of color and extra flavor, garnish with fresh strawberry slices on top. They’ll add a fresh, fruity element that complements the strawberry jello and looks stunning.
For more delicious cake ideas, check out our Hershey Bar Cake Recipe, which combines rich chocolate flavors with a creamy frosting.
Tips for the Best Jello Poke Cake
Making the perfect jello poke cake doesn’t have to be complicated. Here are some helpful tips to ensure your cake comes out beautifully every time:
- Don’t Over-Poke: When poking the holes, be careful not to go too deep, or the jello may settle at the bottom and make the cake soggy. Aim to poke halfway through.
- Pour Slowly: Use the back of a spoon to pour the jello mixture slowly, allowing it to soak into each hole gradually. This helps the jello distribute evenly without pooling on top.
- Give It Time to Set: Chilling the cake for a minimum of 2-3 hours is crucial for the jello to firm up and set inside the cake. If possible, leave it in the fridge overnight for the best texture.
- Keep it Cool: Since this cake has a jello filling and Cool Whip topping, keep it refrigerated until you’re ready to serve. This helps maintain its texture and flavor, especially on warmer days.
For more easy, no-fuss desserts, browse our 30 Easy Fall Desserts, where you’ll find treats that are perfect for every occasion.
Creative Variations and Serving Ideas
One of the great things about a jello poke cake is how versatile it is! You can easily switch up the flavors, decorations, and presentation to suit any occasion.
- Try Different Jello Flavors: Swap the strawberry jello for other flavors like raspberry, lime, or cherry for a unique twist. You can also layer different jello flavors for a rainbow effect!
- Top with Fresh Fruit: Garnish with fresh fruits that match your chosen jello flavor. Slices of kiwi, pineapple, or blueberries add a fresh touch and make the cake even more visually appealing.
- Serve with Extra Whipped Cream: For an extra indulgent treat, serve each slice with a dollop of whipped cream or a drizzle of fruit sauce on top.
- Use Different Toppings: Instead of Cool Whip, try a homemade whipped cream or a flavored frosting for a richer taste. You can even sprinkle crushed cookies or nuts on top for added texture.
For even more creative ideas, check out our Neapolitan Cake Recipe for a colorful and multi-layered approach to cake.

FAQ About Jello Poke Cake
Q: Can I use a different type of cake mix?
A: Yes! Although this recipe suggests a white or yellow cake mix, you can use any flavor that pairs well with jello. Try chocolate cake with cherry jello or lemon cake with lime jello for exciting variations.
Q: How long can I store jello poke cake?
A: This cake stores well in the refrigerator for up to 3 days. Just be sure to cover it to prevent the topping from drying out.
Q: Can I make jello poke cake in advance?
A: Definitely! In fact, making it the day before allows the jello to fully set and the flavors to meld. Just add the Cool Whip topping right before serving for the freshest presentation.
A jello poke cake is more than just a dessert—it’s a fun and easy way to bring a burst of color and flavor to any gathering. With its light texture, fruity filling, and creamy topping, it’s a treat that appeals to all ages. Follow this jello poke cake recipe for a delightful, crowd-pleasing dessert that’s as simple to make as it is delicious. Enjoy watching everyone’s faces light up with every bite of this nostalgic, eye-catching cake!
Make sure to keep this recipe handy for those moments when you want a dessert that looks impressive but doesn’t require hours in the kitchen. Whether it’s for a summer BBQ, a family gathering, or a holiday celebration, this jello poke cake will surely be a hit.
Jello Poke Cake Recipe: A Fun, Flavorful, and Easy Delicious Cake
4
servings30
minutes40
minutes300
kcalIngredients
1 box (15.25 ounces) of white or yellow cake mix (plus ingredients listed on the box, usually water, oil, and eggs)
1 package (3 ounces) strawberry-flavored gelatin (Jello)
1 cup boiling water
1 cup cold water
1 tub (8 ounces) whipped topping, thawed (like Cool Whip)
Fresh strawberry slices for garnish
Directions
- Bake the Cake:
Prepare the cake mix according to the box instructions, pouring the batter into a 9×13-inch baking pan.
Bake as directed, then let it cool for about 15 minutes. - Prepare the Jello:
In a medium mixing bowl, whisk the strawberry gelatin powder with boiling water until it’s fully dissolved.
Stir in the cold water, combining well. - Poke & Pour:
Using a fork or toothpick, poke small holes halfway through the surface of the cake. Avoid poking all the way to the bottom, so the Jello doesn’t pool underneath and make the cake soggy.
Carefully pour the Jello mixture over the cake a little at a time, using the back of a spoon to gently distribute it. This gives the Jello time to soak into the cake rather than just sitting on top. - Chill:
Cover the cake and refrigerate for at least 2-3 hours, or overnight if possible. This allows the Jello to set thoroughly. - Top with Whipped Topping:
Once the Jello is set, spread the thawed whipped topping evenly over the top of the cake. - Garnish & Serve:
Decorate with fresh strawberry slices, slice into squares, and enjoy!
Notes
- For best results, make sure to poke the holes only halfway through the cake.
Pouring the Jello mixture gradually helps it soak into the cake rather than pooling at the top.
Allow plenty of time for chilling to ensure the Jello is fully set before adding the whipped topping.

